How to Make Any Shape Out of Metal
/In today's tutorial, I'm going to walk you through some very simple steps that once you hone the skills you can make just about anything when it comes to sheet metal. This project is perfect for the novice jeweler!
I'll admit, working with sheet metal is not my favorite, I prefer to work with wire. But I've learned a thing or two about how to saw out virtually any shape you want out of sheet metal to make pendants, rings, or just charms.

How to Make Any Shape Out of Metal by Maker-Monologues.com
*This post contains affiliate links. I earn a small commission if you purchase any recommended products at no extra cost to you. Affiliate sales help me to keep this blog going so I can continue bringing you free content. Thanks for your support!
For this tutorial, you're going to need some tools and materials.
Tools:
(*Excluding a computer, printer, and paper)
Calipers (*Don't waste your money here, I highly recommend my iGaging EZ Cal digital calipers. I've never had issues and only had to change the battery once since I got it in 2016.)
3/0 Saw blades (I love the Lazor Gold saw blades from Rio Grande!)
Materials:
Step 1 | Download The Shape You Want to Your Computer

Go to your preferred search browser, I use Google Chrome and type in the shape you want then "clipart" afterward. So in this example, I'm searching for a heart so I'll type in "heart clipart" you can add "black and white" if you want but it's not necessary.
Once you do that click over to Images, find the shape you want, and download it to your computer (right-click > save image as).
Step 2 | Figure Out How Big You Want Your Shapes To Be

Take your calipers and figure out how big you want your shapes to be. I just opened my calipers and looked at the width on top of my finger (in case I want to make a ring with it) to figure out the size I wanted. 10mm looked pretty good to me so that's the size I went with.
After we have the size we want we need to figure out what that size is in pixels. I simply went to UnitConverters.net to convert millimeters to pixels. I typed in 10 into the millimeters field and hit Submit and the calculations say 37.795****** pixels equal 10mm. I'm just going to round up to 38 pixels to make it easy.
Step 3 | Create Your Shape Template Sheet
For this step, we're going to use an awesome graphic-making site called Canva. But feel free to use the software you're most comfortable with. When you land on Canva's homepage you have lots of template choices. Choose the US Letter template (this will make it easy for printing later).
Upload all your shapes into Canva (Canva.com > Uploads > Upload your own images).

Click on the shape in your uploads and drag it onto your template and you'll see 4 teal corners where you can click and re-size your image. You'll also see the pixel size in a very tiny light grey font. I'm going to 38px so I just re-size until I achieve that size. (It also helps to zoom in so you can see better - bottom right.)

Once you have the size you need you can click "Copy" in the top right toolbar and it'll make an exact copy so you don't have to keep resizing each image. Once you have two shapes next to each other you can click/drag to highlight both images and then click Copy again to make two more. Then you can place those into a square and then click/drag to highlight all 4 and then click Copy again to make 4 more. It's like compounding the number of shapes you have.
This makes it so much easier and faster to get the number of shapes you want to print out without having to place each shape on your template one by one. You might be wondering why you'd want to print more than the amount you need, that's because you can't reuse the template, plus, it's good to just have a variety of shapes on hand for making.

Once you have the number of shapes you want on your template you're now going to download and print the template.
Click Download in the top right corner. A drop-down menu will appear and you're going to choose "PDF - Print" from the File Type menu and then click Download again.
Then, locate the file on your computer and print as per your printer instructions.

Step 4 | Print + Cut Out Your Template
Print your template sheet and make sure it's the correct size. Mine is about 10mm give or take, which is perfect.
Cut out a single shape then move on to applying the glue.
*Bench Tip: If you're making earrings that require two pieces of metal, glue the two pieces of metal together, one on top of the other, then glue your template to the top piece of metal and saw both pieces of metal at once. That way they're exactly the same shape and size.

Step 5 | Glue Template to Metal
For the glue, I love using the Elmer's Rubber Cement as it dries fast and you can easily peel the paper off your metal afterward leaving no residue to clean up.

Before you apply your glue and stick it to your metal, take fine-grit sandpaper and sand the area where you'll be sticking your template, that way you're working with clean metal and the glue will stick better.
The rubber cement comes with a brush attached to the lid so I just brush on a good amount, fully coat the paper. Then stick the template right onto your metal and allow it to dry for about 10 minutes.
*Bench Tip: Keep at least 1mm - 2mm of paper around the part you're going to saw out. It's really hard to saw paper when it stops right where you need to saw (I hope that made sense).

Step 6 | Sawing Out The Template
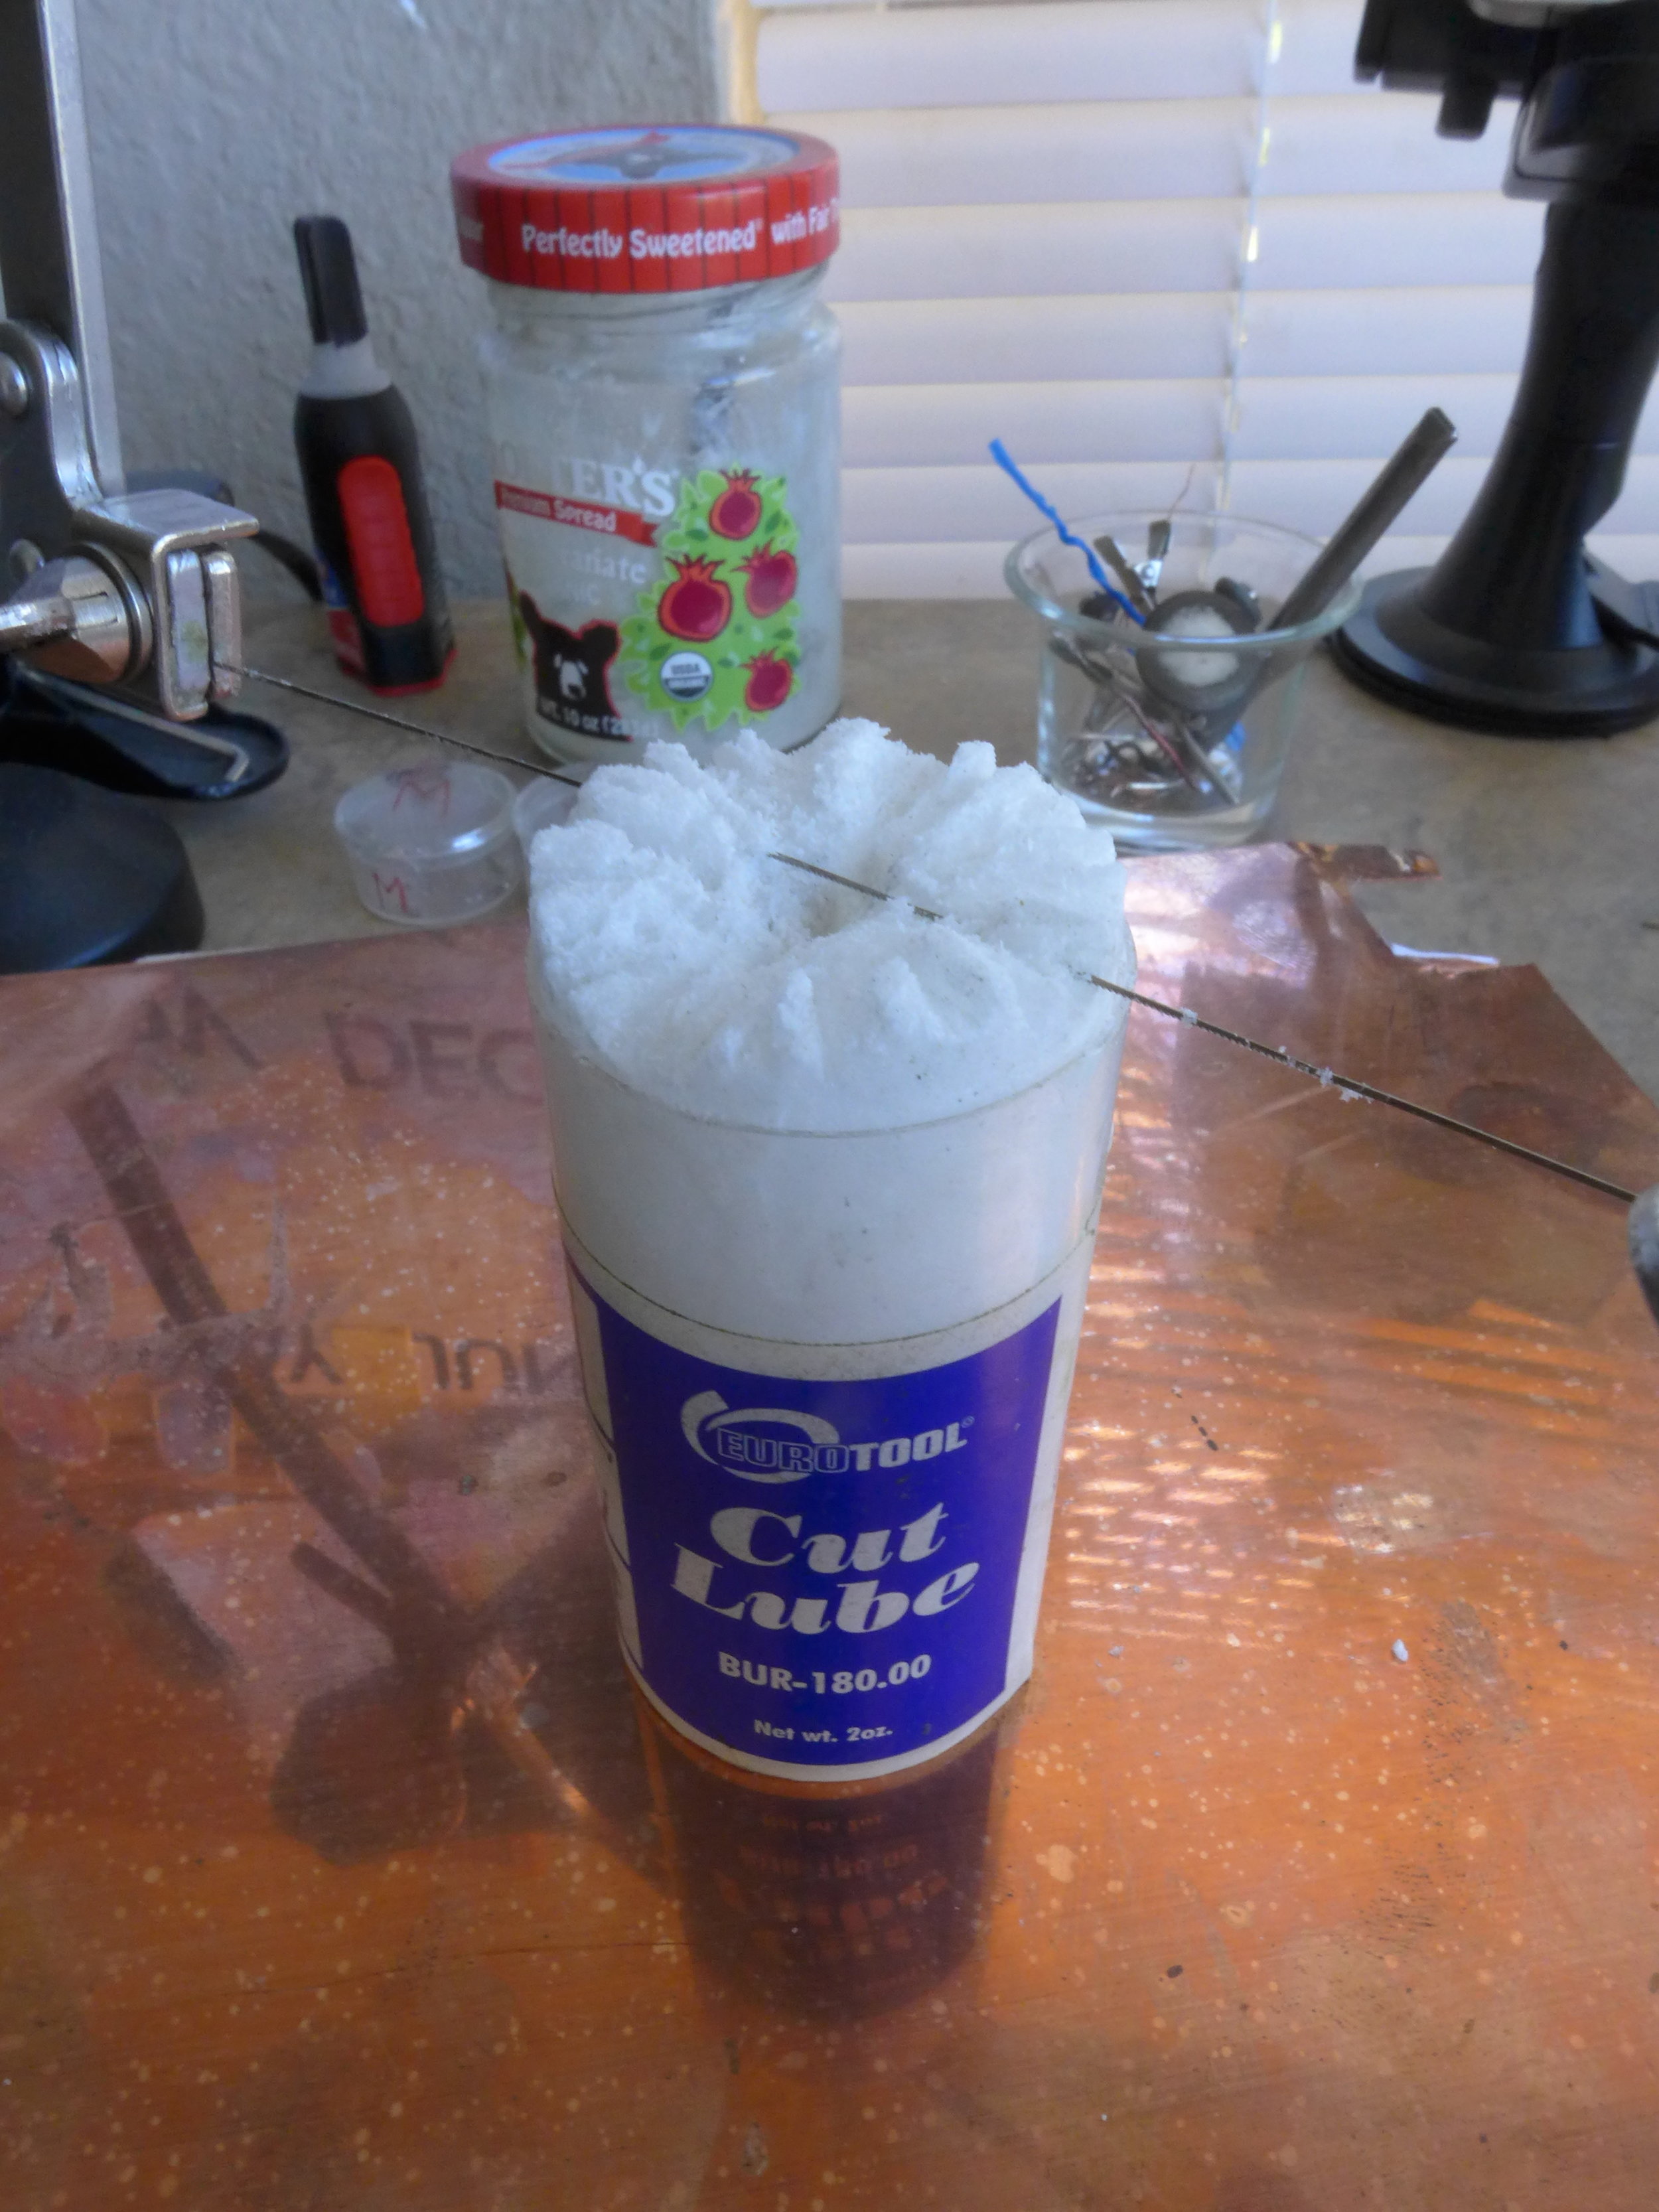
For this next step, you're going to need some saw blades, a saw frame, a bench pin, and some lubricant for your saw blade.

Run your saw blade through your lubricant. This will allow your saw to cut better and not snag on the metal as much.
Place your metal on your bench pin so that the template is centered in the V-slot. Allow your blade to do all the work, no need to be forceful when sawing or you may break your saw blade.

When I'm sawing such a small piece from a huge sheet of metal like I'm doing here I like to roughly cut out my template. It's easier for me to be more precise while sawing out the shape from a smaller piece of metal. However, if you're using silver you might not want to waste that much metal.

Now I can focus on precisely sawing out my shape. To get my cut started I use my nail to guide my saw blade and begin my cut right on the line of my template.

If you're not very good at sawing *slowly raises hand* then you can saw right outside of your line then use your file afterward to finish your shape or to just clean it up, which I'll be showing you in the next step.


Step 7 | File The Edges
For this step, you're going to need a #2 cut metal file. It might be better to use a needle file but I'm using my big half-round file. I notice the round part is great for shaping the sides of the point in my heart.
Here's a photo of just the right side filed (left photo) and a photo of the heart all filed (right photo). As you can see it's not perfect, I'm not very good at working with sheet metal, I'm more of a wire metal gal, but this is such an easy project that any novice jeweler can do. =)


Step 8 | Revealing Your Shape
Now you want to peel off the paper (which is always my favorite part!). And that rubber cement peels off so cleanly!


And here's the fruit of our labor! It was a labor of "love". Sorry for the pun, ha!
Now you can take a rubber wheel and smooth down your edges. The possibilities are endless with what you can make with your shape. You can put this on a ring, you can make another and create some stud earrings, you can drill a hole and make it a pendant, etc., etc.
I hope you enjoyed this simple tutorial and please let me know what shape you're making in the comments below! Also, be sure to tag me on Instagram and Facebook @makermonologues so I can see what you're making!
Be sure to join the Maker Mob email list so you never miss a new tutorial!